
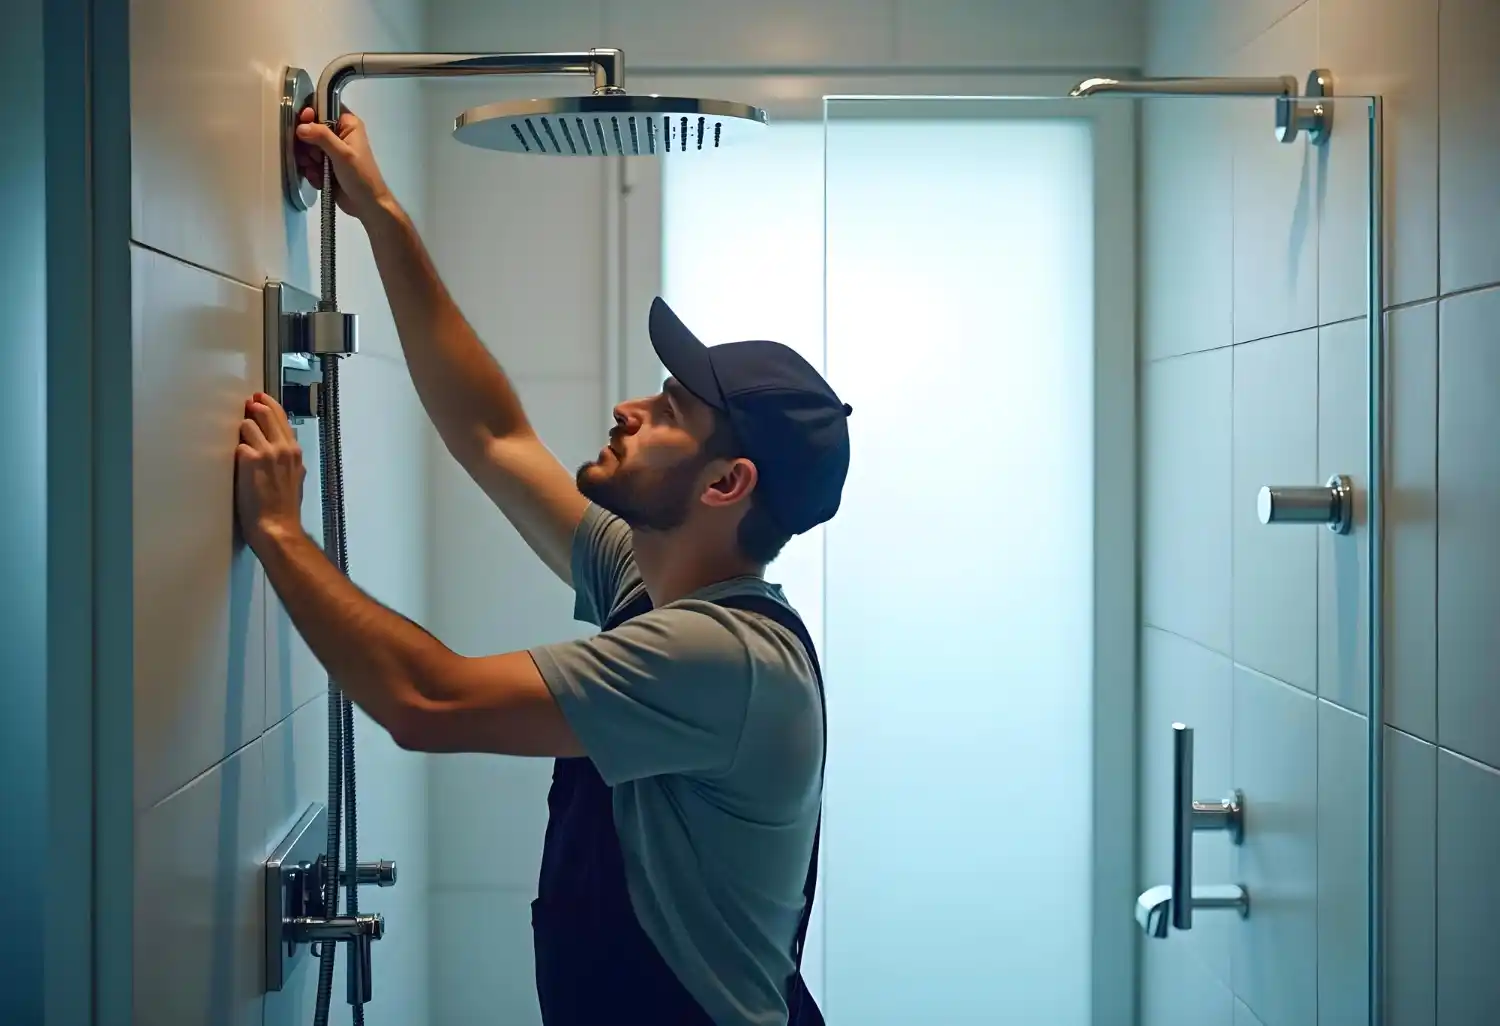
To fit an electric shower installation, first turn off the water and electricity, then mount the shower unit securely, connect it to a mains cold water supply, wire it to a dedicated electrical circuit, flush the unit, and test for leaks, water flow, and safe heating. In the UK, electrical work should be done by a qualified electrician because electric showers combine water with high-powered wiring.
An electric shower is one of the most practical and energy-efficient bathroom upgrades for modern homes. Unlike mixer showers that rely on your boiler or hot water cylinder, an electric shower heats cold water instantly as it passes through the unit. This means you can enjoy hot water whenever you need it without depending on your home’s central heating system.
Many homeowners consider electric shower installation when renovating a bathroom, replacing an old shower, or improving water heating efficiency. While the installation process may appear straightforward, it involves both plumbing and electrical work, making proper planning essential.
This comprehensive guide explains everything you need to know about fitting an electric shower, including preparation, tools, safety requirements, installation steps, common mistakes, and maintenance advice.
What Is an Electric Shower?
An electric shower is a self-contained appliance that draws cold water directly from the mains supply and heats it using an internal heating element.
Unlike traditional showers, it does not require stored hot water. This makes electric showers particularly popular in UK homes because they:
- Provide hot water on demand
- Reduce reliance on boilers
- Improve energy efficiency
- Work independently from central heating systems
- Offer consistent performance throughout the year
Can You Install an Electric Shower Yourself?
Before learning how to install an electric shower, it is important to understand the legal and safety requirements.
Installing an electric shower involves:
- Electrical wiring
- Water supply connections
- Bathroom safety regulations
- Building regulations compliance
While experienced DIY enthusiasts may handle certain plumbing aspects, electrical work should generally be completed by a qualified electrician to ensure compliance with Part P of UK Building Regulations.
Incorrect installation can result in:
- Electrical shock
- Water leaks
- Fire hazards
- Invalid warranties
- Insurance complications
Tools and Materials Required
Before starting the installation, gather the necessary tools and equipment.
Tools
- Electric drill
- Spirit level
- Adjustable spanner
- Pipe cutter
- Screwdrivers
- Voltage tester
- Pencil and measuring tape
- Hole saw
- Wire stripper
Materials
- Electric shower unit
- Shower rail kit
- Isolation switch
- Appropriate electrical cable
- Circuit breaker
- Copper or plastic pipework
- Pipe fittings
- Wall plugs and screws
- Silicone sealant
Having everything ready beforehand helps avoid interruptions during installation.
Understanding Electrical Requirements
One of the most important aspects of electric shower installation is the electrical supply. Electric showers consume a significant amount of power and require a dedicated circuit.
Typical Power Ratings
| Shower Rating | Approximate Current Draw |
| 7.5kW | 32 amps |
| 8.5kW | 37 amps |
| 9.5kW | 41 amps |
| 10.5kW | 46 amps |
Most electric showers require:
- Dedicated circuit from the consumer unit
- RCD protection
- Suitable cable size
- Double-pole isolation switch
The cable size will depend on the shower’s power rating and cable run length.
Choosing the Right Location
Selecting the correct installation position is crucial.
The shower should be mounted:
- On a flat wall surface
- Close to water and electrical connections
- Within the manufacturer’s recommended height
- Away from direct water spray where possible
Check the manufacturer’s instructions carefully, as different models have varying requirements.
Step 1: Turn Off Water and Electricity
Safety comes first.
Before any work begins:
- Switch off the main electrical supply.
- Isolate the shower circuit.
- Turn off the mains water supply.
- Verify that no power is present using a voltage tester.
Never rely solely on switching off a local switch.
Step 2: Mark the Installation Position
Hold the shower unit against the wall and mark:
- Fixing holes
- Water inlet position
- Cable entry points
Use a spirit level to ensure the unit sits perfectly straight.
Accurate measurements prevent alignment issues later.
Step 3: Drill Mounting Holes
- Carefully drill the fixing holes.
- Insert suitable wall plugs and secure the shower backplate to the wall.
- Ensure the unit is firmly mounted without movement.
- A loose shower unit can eventually lead to leaks and damage.
Step 4: Install the Water Supply Pipe
The cold-water supply pipe must connect directly to the shower.
Important Points
- Use only a mains-fed cold water supply.
- Install an isolation valve.
- Ensure adequate water pressure.
- Flush the pipework before connection.
Flushing removes debris that could damage internal shower components.
Connect the water inlet according to the manufacturer’s instructions.
Avoid overtightening fittings as this may damage seals.
Step 5: Connect the Electrical Supply
This is the most critical stage of fitting an electric shower.
The electrical cable should enter the unit through the designated entry point.
Typical connections include:
- Live wire
- Neutral wire
- Earth wire
After stripping the cable ends:
- Insert wires into the correct terminals.
- Tighten terminal screws securely.
- Check for loose connections.
- Ensure cable clamps hold the cable firmly.
Poor electrical connections can cause overheating and appliance failure.
Step 6: Secure the Shower Cover
Once wiring and plumbing connections are complete:
- Refit the front cover.
- Tighten fixing screws.
- Confirm seals are properly positioned.
Do not force the cover into place.
If resistance occurs, recheck internal connections.
Step 7: Install the Shower Rail and Handset
The shower rail provides support for the shower handset.
Installation Process
- Mark is fixing positions.
- Drill mounting holes.
- Secure brackets.
- Fit the rail.
- Attach the hose and handset.
Ensure the rail is level for a professional appearance.
Step 8: Flush the Unit
Before applying electrical power, flush the shower unit.
This vital step removes trapped air and debris.
Flushing Procedure
- Keep the electricity switched off.
- Turn on the water supply.
- Run water through the shower.
- Allow several minutes of flushing.
Skipping this step can damage the heating element.
Step 9: Restore Power and Test
Once flushing is complete:
- Turn on electrical power.
- Activate the shower.
- Test temperature controls.
- Check water flow.
- Inspect for leaks.
Monitor performance carefully during the first few minutes of operation.
Common Mistakes to Avoid
Many installation issues result from avoidable errors.
Incorrect Cable Size
Undersized cables can overheat and create serious fire risks.
Inadequate Water Pressure
Electric showers require sufficient water pressure to function properly.
Skipping the Flush Process
Failure to flush the unit can permanently damage heating elements.
Poor Waterproofing
Unsealed wall penetrations may allow water ingress.
Loose Connections
Both plumbing and electrical connections should be checked thoroughly.
How Long Does Electric Shower Installation Take?
Installation times vary depending on the complexity of the project.
Typical Timeframes
| Installation Type | Estimated Time |
| Direct replacement | 2-4 hours |
| New installation | 4-8 hours |
| Full bathroom renovation | 1 day or more |
Additional time may be required if new electrical circuits need installing.
Average Electric Shower Installation Costs in the UK
Costs vary according to shower type, labour rates, and property requirements.
Typical Costs
| Item | Estimated Cost |
| Electric shower unit | £80 – £400 |
| Electrician labour | £150 – £400 |
| Plumbing labour | £100 – £300 |
| Full installation | £250 – £800+ |
UK Regulations and Safety Requirements
Electric shower installations must comply with relevant UK regulations.
These include:
Building Regulations Part P
Controls electrical work in domestic properties.
BS 7671 Wiring Regulations
Defines safe electrical installation standards.
Bathroom Electrical Zones
Bathrooms are divided into safety zones that determine where electrical equipment can be installed.
Benefits of Installing an Electric Shower
Many homeowners choose electric showers for practical reasons.
Instant Hot Water
Water heats as it passes through the unit.
Energy Efficiency
Only the water being used is heated.
Independent Operation
Works separately from the boiler.
Reliable Performance
Provides consistent operation throughout the year.
Cost Control
Allows better management of hot water consumption.
Signs Your Electric Shower Needs Replacing
Even properly installed showers eventually wear out.
Watch for:
- Temperature fluctuations
- Reduced water flow
- Strange noises
- Frequent tripping
- Visible leaks
- Burn marks or overheating
Replacing older units often improves efficiency and reliability.
Maintaining Your Electric Shower
Regular maintenance extends the life of your shower.
Clean the Shower Head
Remove limescale regularly to maintain water flow.
Check for Leaks
Inspect connections periodically.
Test Electrical Components
Arrange professional inspections if concerns arise.
Flush Debris
Follow manufacturer maintenance recommendations.
Keep Air Vents Clear
Blocked vents may cause overheating.
A well-maintained shower can provide many years of reliable service.
Professional Installation vs DIY
While some homeowners attempt DIY installation, professional installation offers several advantages.
Professional installers:
- Ensure compliance
- Test electrical safety
- Protect warranties
- Reduce risk
- Complete work efficiently
For complete peace of mind, many homeowners choose experienced specialists such as MSJ Plumbing and Drainage LTD. for complex plumbing and shower installation projects.
Final Thoughts
Learning how to fit an electric shower installation is useful for understanding the process, planning a bathroom upgrade, and communicating effectively with installers. However, because electric showers combine high-voltage electricity with water, safety should always be the highest priority.
A successful electric shower installation involves proper preparation, suitable electrical infrastructure, accurate plumbing connections, and thorough testing. Whether you are replacing an existing unit or undertaking a completely new installation, following the correct procedures ensures reliable performance and long-term safety.
If you are considering how to install an electric shower, always verify that your home’s electrical system can support the unit and ensure all work complies with current UK regulations.