
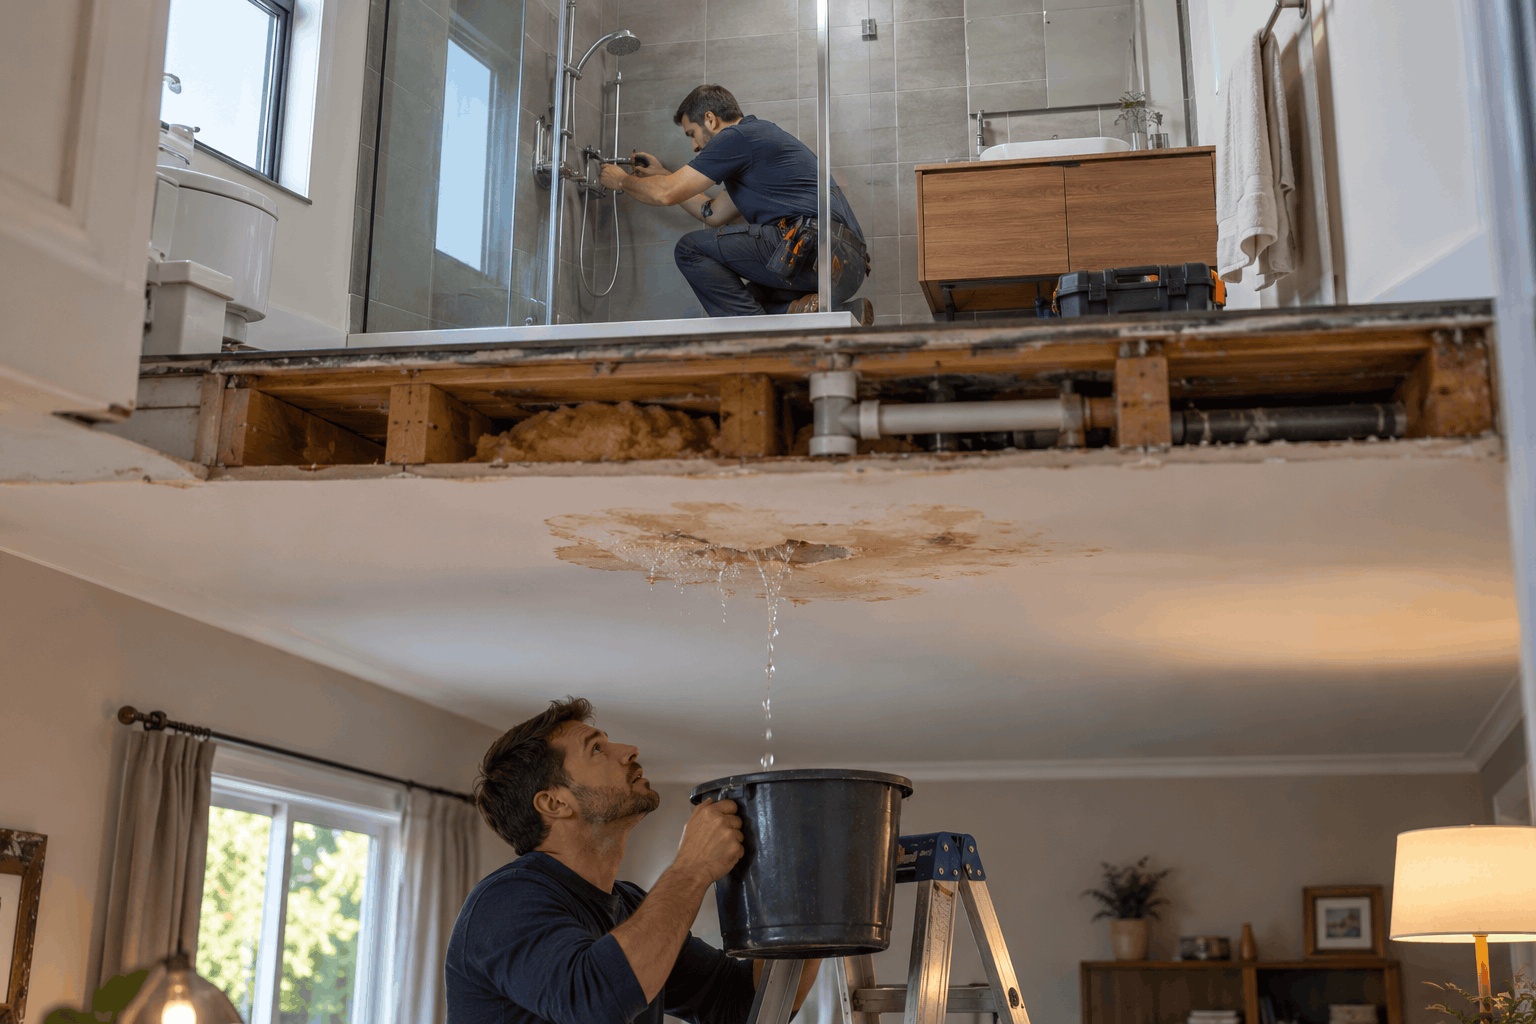
A shower leaking through the ceiling can be a sign of water damage, mould growth, and expensive repairs if not fixed promptly. The leak may be caused by faulty seals, loose connections, a damaged shower tray or an issue with the mixer valve. Finding the root cause is essential for determining the appropriate repair and preventing further damage. Repairing a leaking shower may involve anything from replacing worn sealant to fixing a loose pipe connection.
This blog explains the common causes of shower leaks, how to identify the source, and the steps you can take to address the problem safely. Before beginning any repair, make sure to isolate the water supply where needed.
Water does not always drip directly from the actual source of the leak. It can run along pipes, joists, and subfloor boards before dripping through the ceiling at another point. As a result, o ceiling stains can appear several feet away from the actual leak. Repairing the visible damage without identifying the root cause of the leak may lead to recurring leaks or further water damage. Start by inspecting the bathroom directly above the damaged ceiling, examining the shower, toilet, sink and their pipe connections to help find the cause.
Check the Toilet Wax Ring: Gently check whether the toilet moves from side to side. If there is any movement, it may indicate a problem with the seal under the toilet. After flushing, check around the base of the toilet for signs of moisture. But movement or dampness does not confirm that the seal has failed.
Inspect the Water Supply Pipes: Examine the pipe connections under the sink, behind the toilet and around the shower valve. Check for moisture, water droplets or signs of corrosion, as these may indicate a leak.
Check the Shower Tray: Inspect the shower tray for cracks. Look for signs of leakage around its edges and waste fitting. If water leaks out, then the cause may be the seal, waste or waterproofing.
Test Each Fixture Separately: When it is safe to do so, run the shower, use the sink, and flush the toilet one at a time. Examine whether the ceiling leak becomes more noticeable after using a particular fixture. This can help identify the likely cause of the problem.
Inspect the Grout and Silicone Sealant: check for cracked or missing grout between the tiles, gaps in the silicone around the shower tray, and look for gaps where the shower screen meets the wall. These faults may allow water to leak out of the shower area.
The silicone sealant around the joint between your shower tray and tiles helps prevent water from leaking out. Over time, it can shrink, crack or pull away from the wall or tray, which enables water to escape through the gaps.
What to do: If you have experience with DIY repairs, you can swap the sealant yourself. Remove all the old sealant, clean the area carefully to remove any leftover sealant or dirt, and ensure the surface is completely dry before applying a high-quality, mould-resistant silicone sealant. Poor surface preparation or incorrect application can cause the new sealant to fail again within a few months.
The shower waste is the drain fitting in your lowest shower tray, whereas the trap is the U-shaped pipe under it. The seals around these fittings can wear out or stop fitting tightly enough, which enables water to leak beneath the tray.
What to do: If you are unable to reach the waste or trap, or do not have experience with plumbing, contact a qualified plumber. Tightening or replacing these fittings might seem simple, but doing it incorrectly can make the leak worse.
Tile grout helps resist water, but it is not completely waterproof. As time passes, small cracks may appear in the grout, or some sections of grout may fall out. This can enable water to get behind the tiles, especially if the waterproofing beneath them is damaged or insufficient.
What to do: You may be able to remove or replace small sections of damaged grout yourself. But if tiles are loose or the grout is breaking down in many places between the tiles, there may be a more serious underlying problem that needs an expert assessment.
Failed waterproofing can be a more serious cause of a shower leak. It is not always caused by a problem with the pipes or plumbing system; it may be the result of poor installation or damaged waterproofing. A suitable waterproofing system behind the tiles, known as tanking, helps prevent water from reaching the wall structure. If this layer is poorly installed, damaged, or missing where needed, water can seep into the underlying material. Materials such as plasterboard can absorb moisture, which can result in dampness and damage to the wall or ceiling underneath.
Some shower leaks need a qualified professional to make sure the problem is properly resolved. Here are some situations where you should call a plumber.
If you have already tried to resolve the problem but the leak continues, it is possibly a more serious issue that requires professional attention.
A qualified assessment is important if the leak caused serious damage to your ceilings or other parts of the building to prevent further problems.
You can prevent your shower from leaking with simple maintenance steps and avoid expensive repairs. Here are some simple ways to reduce the risk of future leaks.
Examine the seals surrounding your shower doors and walls. Reseal any worn or cracked areas with high-quality, mould-resistant bathroom silicone sealant to avoid water from leaking out.
Grout wears out over time, which can lead to water slowly leaking through. Properly clean and reseal grout to prevent water from getting through.
Assess hoses, showerheads and connections for gradual wear and damage. Change faulty parts to prevent leaks.
Regularly clear out hair and debris from your shower drain to avoid blockages and water buildup.
High water pressure can strain seals and fittings, resulting in leaks. Use a pressure-reducing valve when required.
A shower leaking through the ceiling can cause dampness, mould growth, and expensive repairs if left untreated. Finding the root cause of the leak is important as it may stem from damaged silicone sealant, cracked grout, a faulty drain connection or failed waterproofing. Although some minor problems can be resolved with DIY repairs, persistent leaks or signs of structural damage may need professional attention. Regularly checking the shower seals, fittings, and drains can help you avoid future problems. By addressing leaks quickly and keeping your shower in good condition, you can protect your home from further water damage and avoid extra repair costs.
Need help with a shower leak? Contact MSJ Plumbing and Drainage LTD to discuss your problem with a qualified plumber and arrange suitable repairs.